Python Flask app Deployment on EC2 with CodePipeline
Introduction
Efficiency and reliability are paramount when deploying web applications. AWS CodePipeline, when coupled with Amazon EC2, offers a robust solution for automating deployment workflows.
Prerequisites
Ensure you have the following:
An AWS account with access to CodeCommit, CodeDeploy, CodePipeline, and EC2 instances.
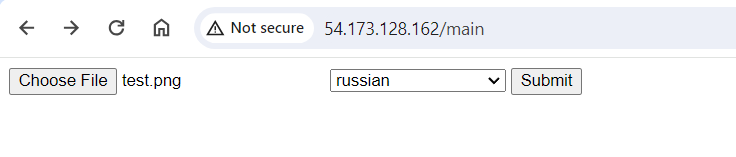
A Flask application ready for deployment. If you don't have one, you can use Flasklingo (a text translation app) which you can clone from my github repo Flasklingo or create a simple "Hello World" app.
Let's Get Started
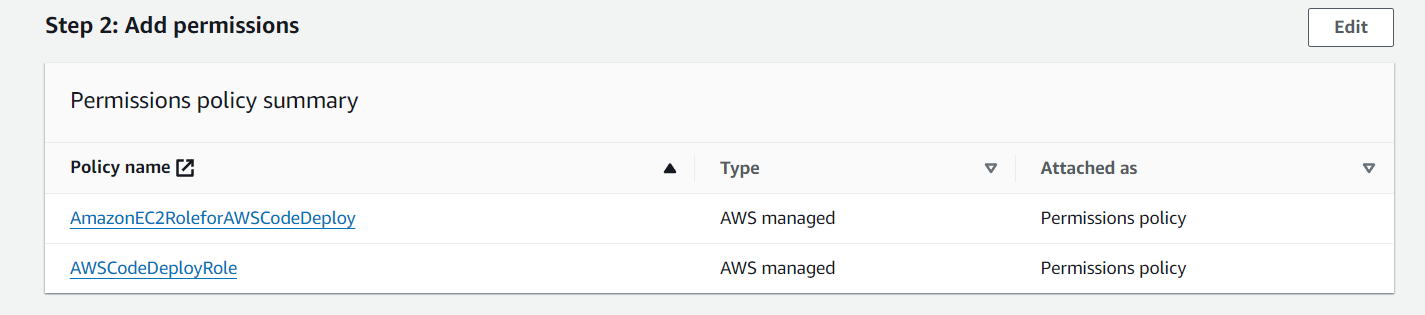
Step 1: Set Up IAM Role
Create an IAM role for ec2 and codedeploy with CodeDeploy permissions and attach it to the EC2 instance.
Note : If you are doing this after the launching ec2 instance make sure you reboot the instance for the IAM role to be active
Step 2: Launching an EC2 Instance
Deploy an Ubuntu t2.micro instance.

Step 3: Configure EC2 Instance
Connect to the EC2 instance via SSH or directly from console, then:
Install CodeDeploy agent.
  sudo apt-get update
  sudo apt-get install ruby-full ruby-webrick wget -y
  cd /tmp
  wget https://aws-codedeploy-us-east-1.s3.us-east-1.amazonaws.com/releases/codedeploy-agent_1.3.2-1902_all.deb
  mkdir codedeploy-agent_1.3.2-1902_ubuntu22
  dpkg-deb -R codedeploy-agent_1.3.2-1902_all.deb codedeploy-agent_1.3.2-1902_ubuntu22
  sed 's/Depends:.*/Depends:ruby3.0/' -i ./codedeploy-agent_1.3.2-1902_ubuntu22/DEBIAN/control
  dpkg-deb -b codedeploy-agent_1.3.2-1902_ubuntu22/
  sudo dpkg -i codedeploy-agent_1.3.2-1902_ubuntu22.deb
  systemctl list-units --type=service | grep codedeploy
Ensure the CodeDeploy agent is active.
sudo service codedeploy-agent status
Install Python venv, tesseract and Gunicorn.
  sudo apt install python3.10-venv -y
  sudo apt install tesseract-ocr -y
  sudo apt-get install gunicorn -y
Step 4: Configure Nginx
Create an Nginx service for the application and make sure the service is running.
sudo apt-get install nginx -y

sudo apt-get install libgl1-mesa-glx -y

sudo systemctl start nginx.service

sudo systemctl status nginx.service
Step 5: Set Up and enable Flasklingo service
cd /etc/systemd/system/

sudo nano flasklingo.service

# this is the code for the service and save the file

[Unit]
After=network.target

[Service]
User=ubuntu
Group=www-data
WorkingDirectory= /var/www/flasklingo
ExecStart=/var/www/flasklingo/venv/bin/gunicorn --bind localhost:5000 main:app
Restart=always
[Install]
WantedBy=multi-user.target
# Reload systemd to read the new unit file
sudo systemctl daemon-reload
# Enable the service to start on boot
sudo systemctl enable flasklingo.service
# Start the service
sudo systemctl start flasklingo.service
Step 6 : Setup reverse proxy
setup an upstream for your app and configure a reverse proxy for your app
upstream flasklingo {
    server 127.0.0.1:5000;
}

server {
        listen 80 default_server;
        listen [::]:80 default_server;
           root /var/www/flasklingo;

        index index.html index.htm index.nginx-debian.html;

        server_name _;

        location / {

        proxy_connect_timeout 75s;
        proxy_pass http://flasklingo;
        proxy_http_version 1.1;
        proxy_set_header Upgrade $http_upgrade;
        proxy_set_header Connection 'upgrade';
        proxy_set_header Host $host;
        proxy_cache_bypass $http_upgrade;
        }
}
the sites enabled will be automatically updated or else use the below command
sudo ln -s /etc/nginx/sites-available/default /etc/nginx/sites-enabled
Step 7: Set Up CodeCommit
Create a repository in CodeCommit and add main.py, requirements.txt, and an appspec file or add your own files.
Step 8: Configure CodeDeploy
Set up a deployment application in CodeDeploy.
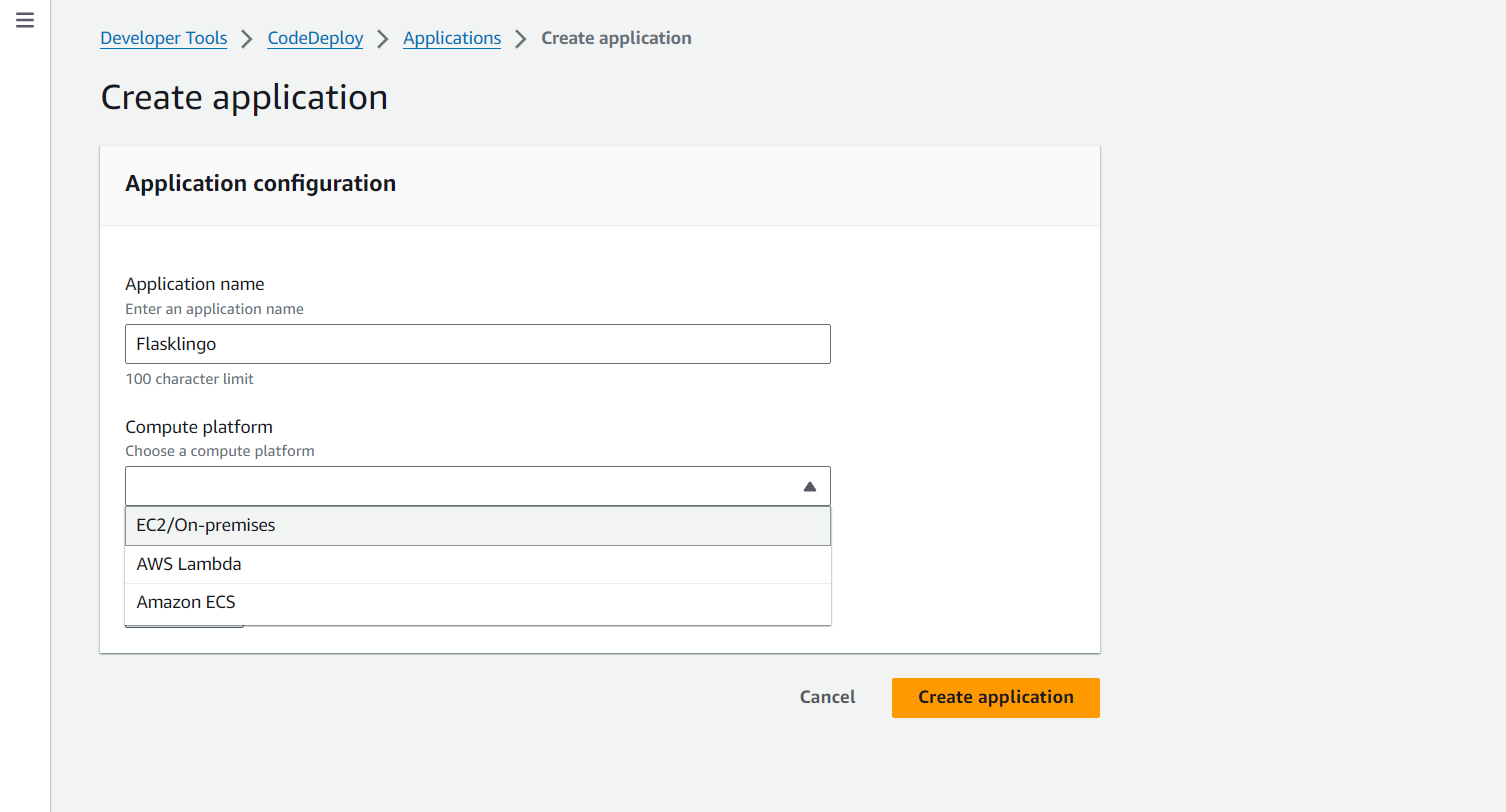
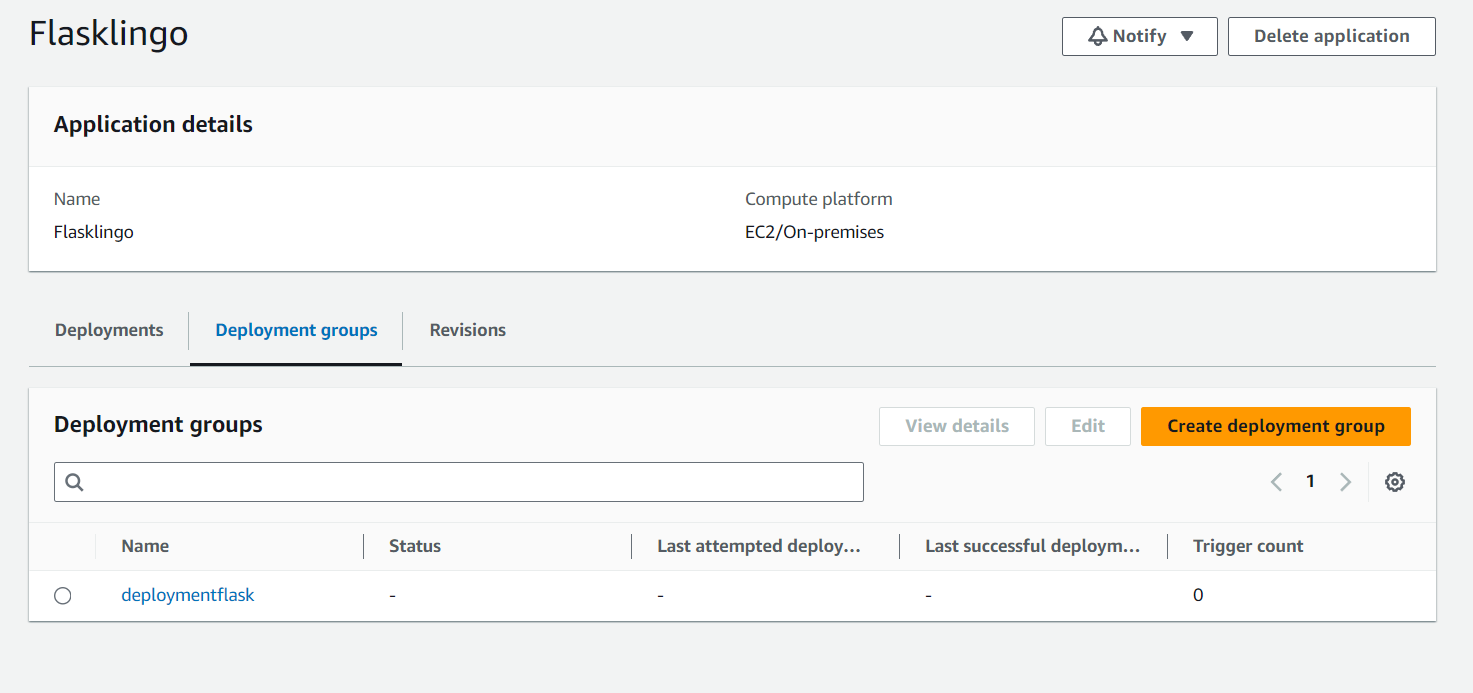
Create a application by selecting EC2/On-premises with your desired Application name
Create a deployment group.
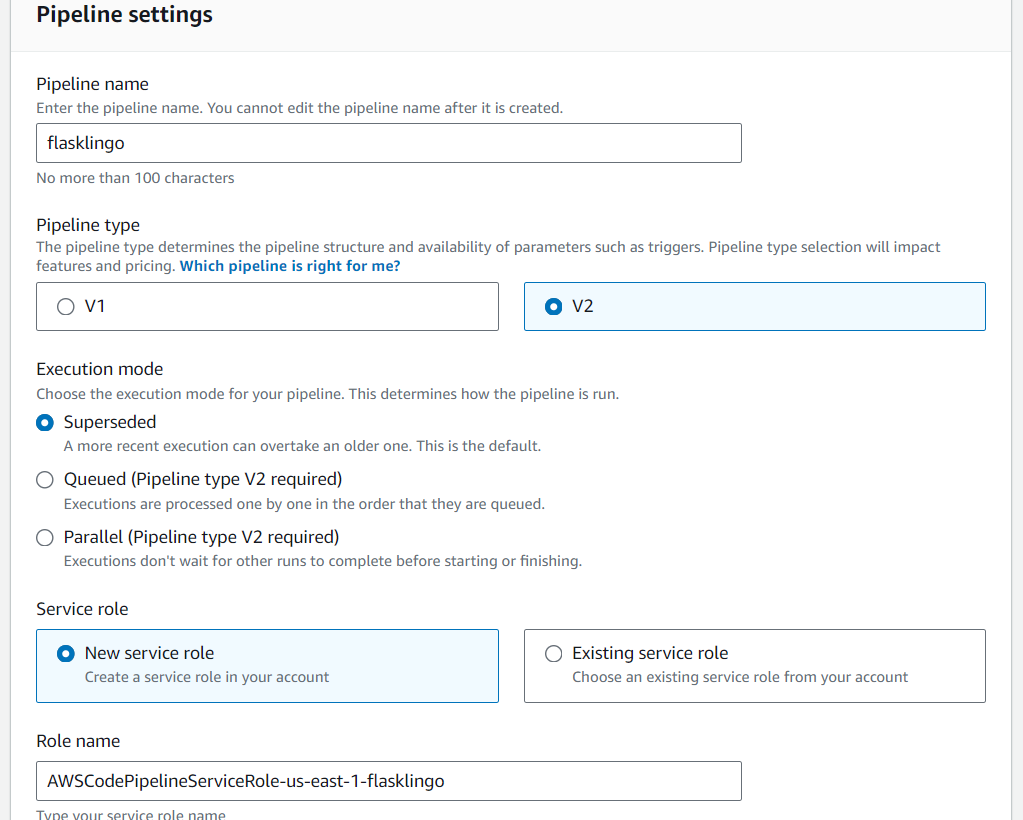
Step 9: Set Up CodePipeline
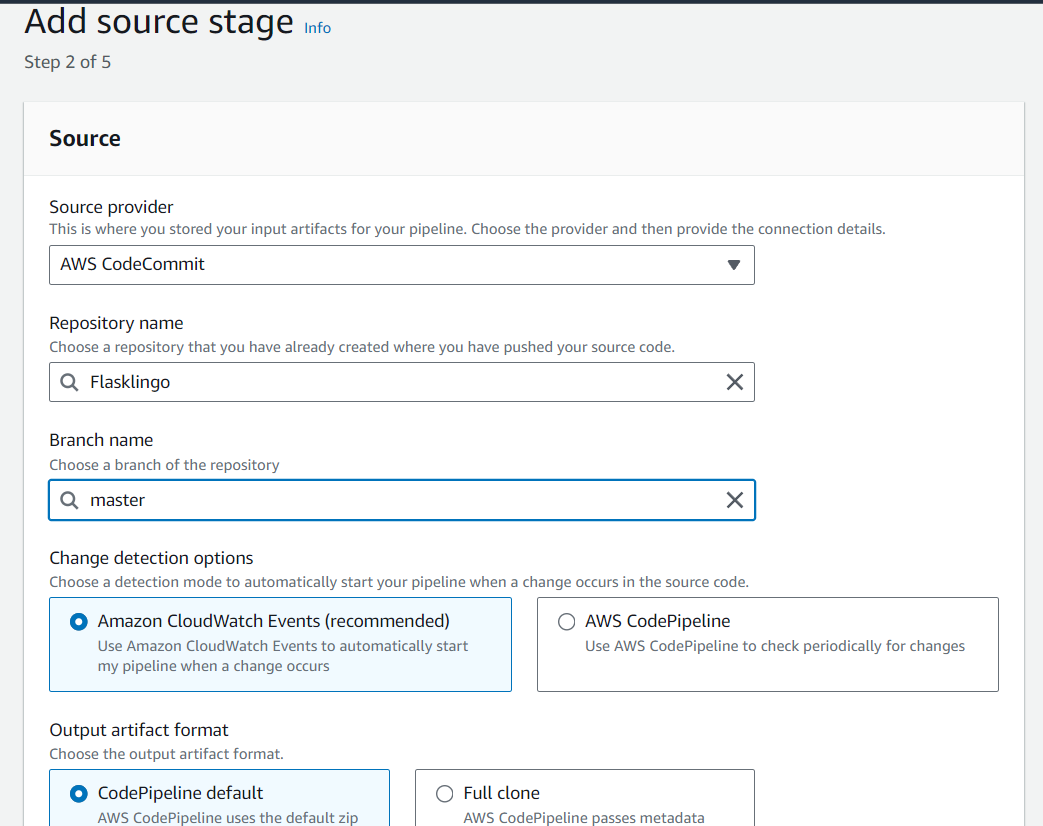
Create a pipeline in CodePipeline:
- Connect to the CodeCommit repository.
Skip the build stage
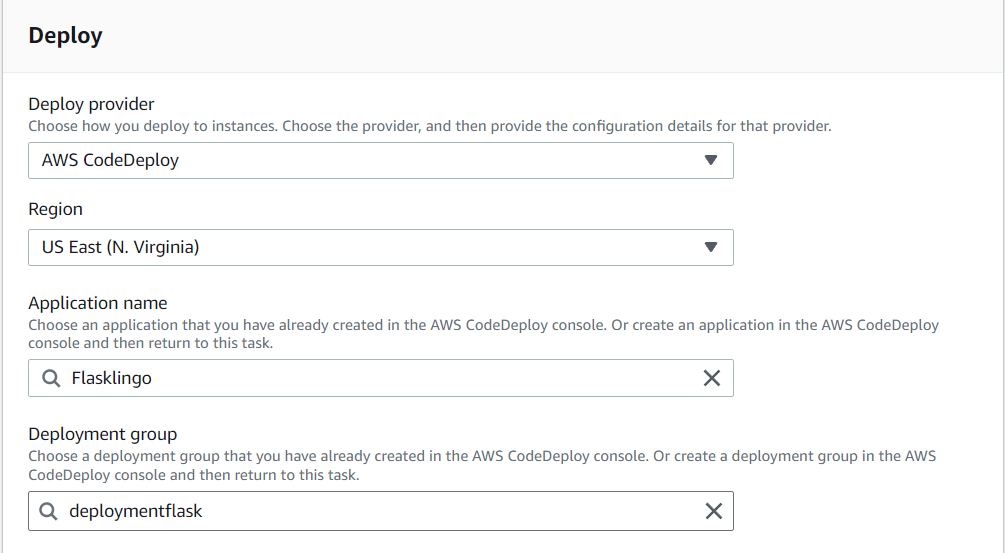
Add a Deploy stage with codedeploy as provider.
Review and click create pipeline.
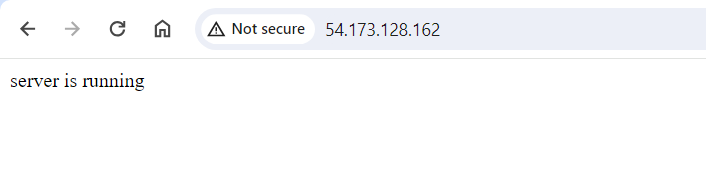
By following these steps, you'll establish an efficient and reliable deployment workflow using AWS CodePipeline and Amazon EC2.

Conclusion:
CodePipeline stands out as a powerful and versatile tool for streamlining software delivery pipelines. Its integration with various AWS services, such as CodeBuild and CodeDeploy, allows for automated building, testing, and deployment of applications with ease. By adopting CodePipeline, development teams can achieve faster release cycles, improved code quality, and increased collaboration among team members. Its scalability and flexibility make it an ideal choice for modern software development workflows, empowering organizations to deliver high-quality software efficiently and consistently. Embracing CodePipeline not only enhances development processes but also contributes to overall business agility and competitiveness in today's dynamic market landscape.
Note:
Destroy all running ec2 instances if you don't want to occur any extra charges